
Last updated November 15, 2026
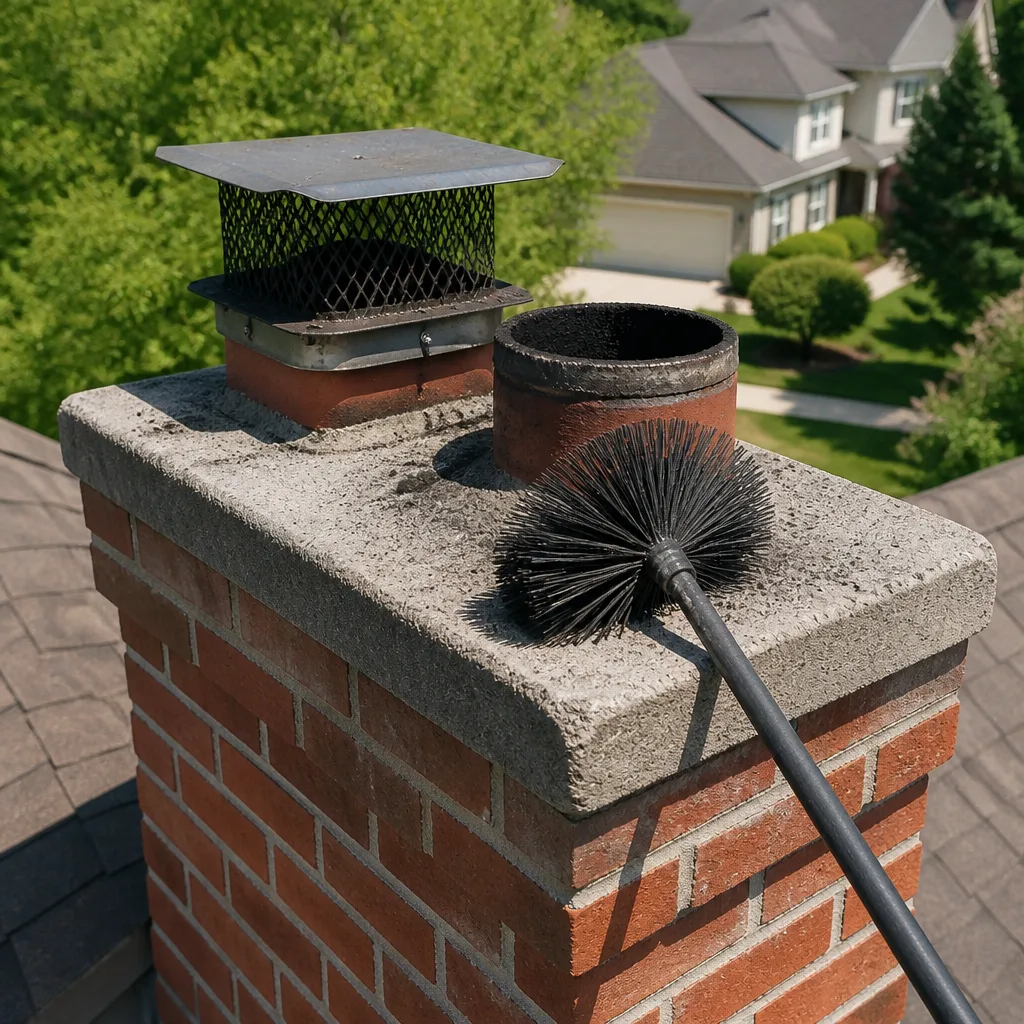 Sweep & inspection
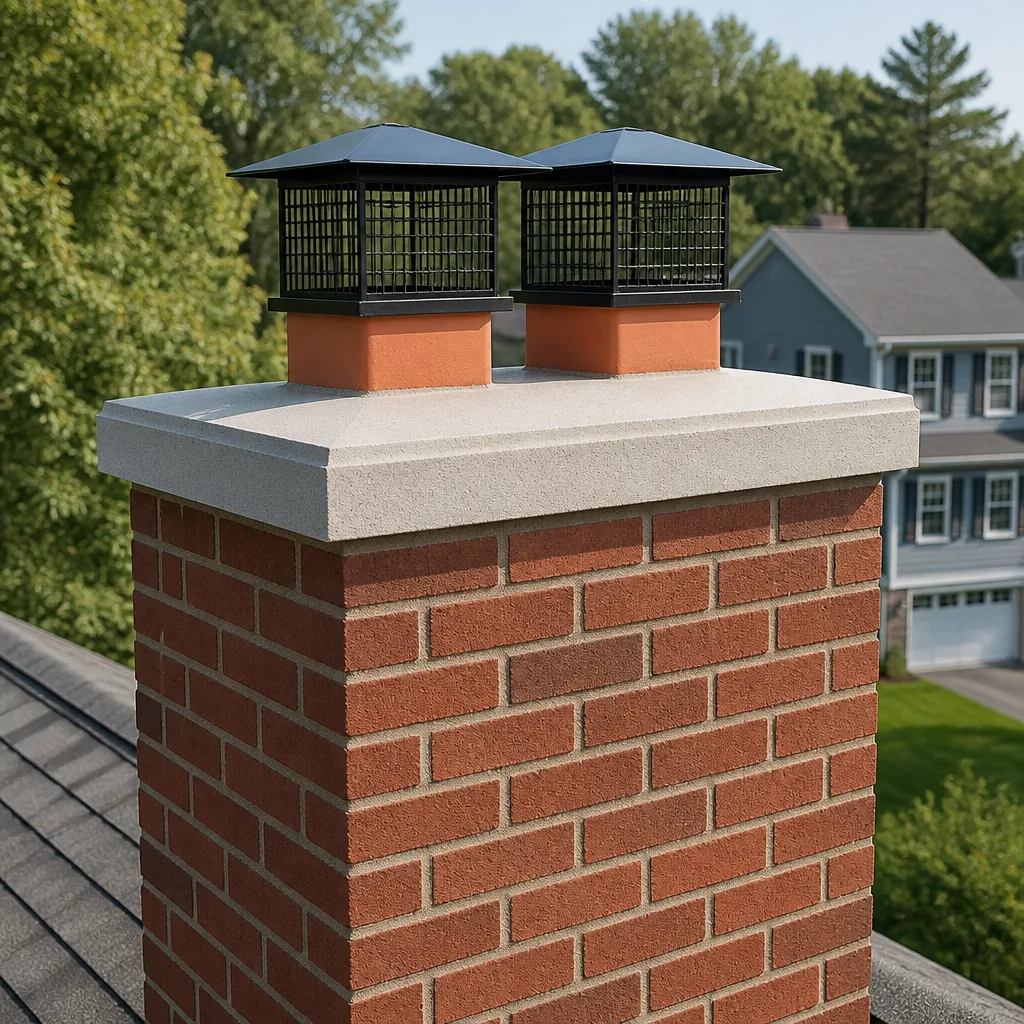 Caps & crowns
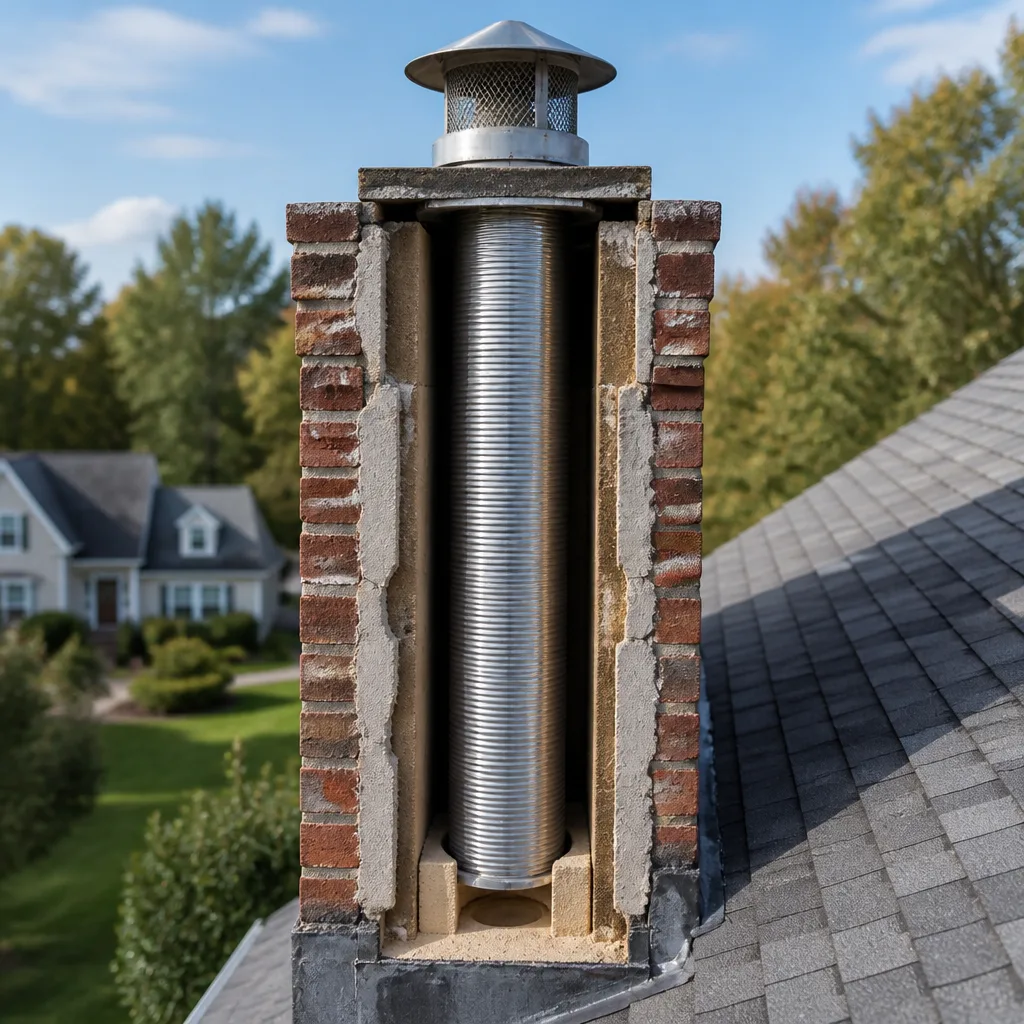 Flue relining
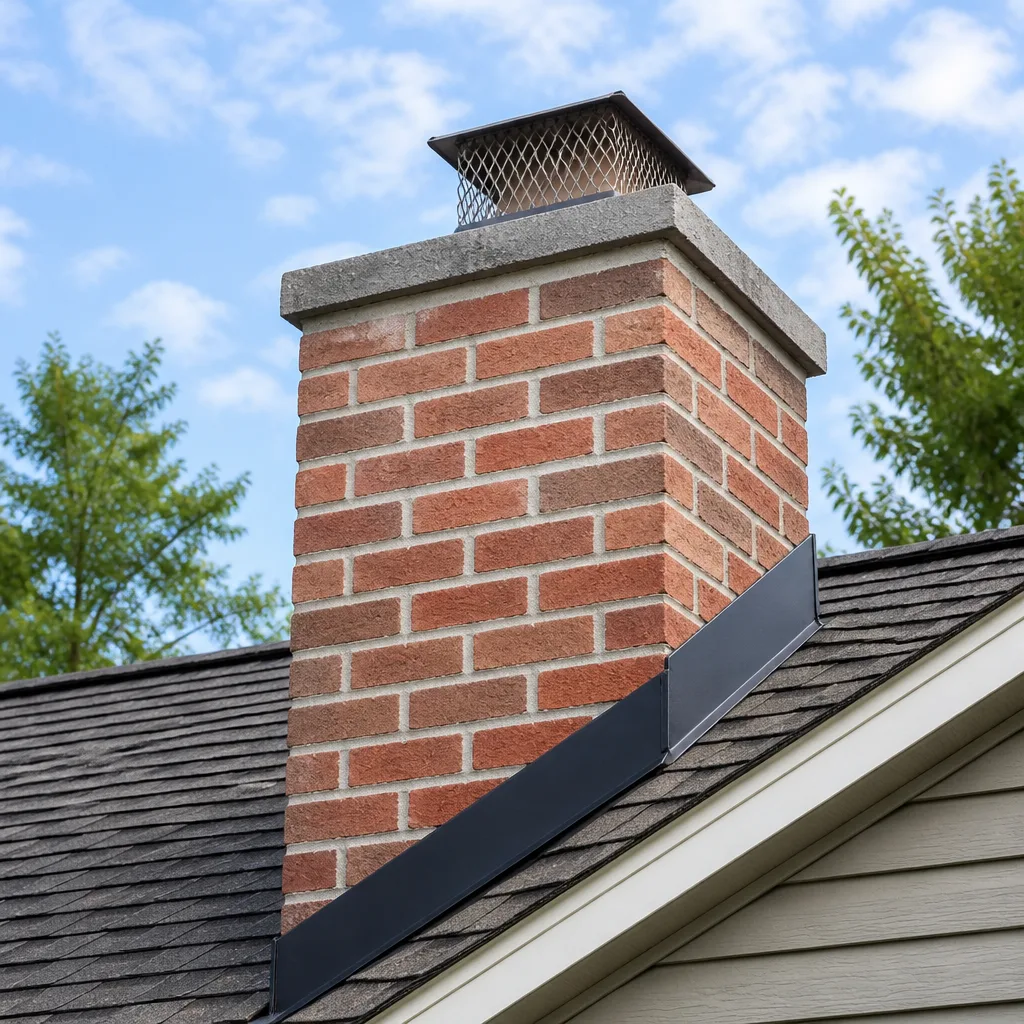 Masonry repair
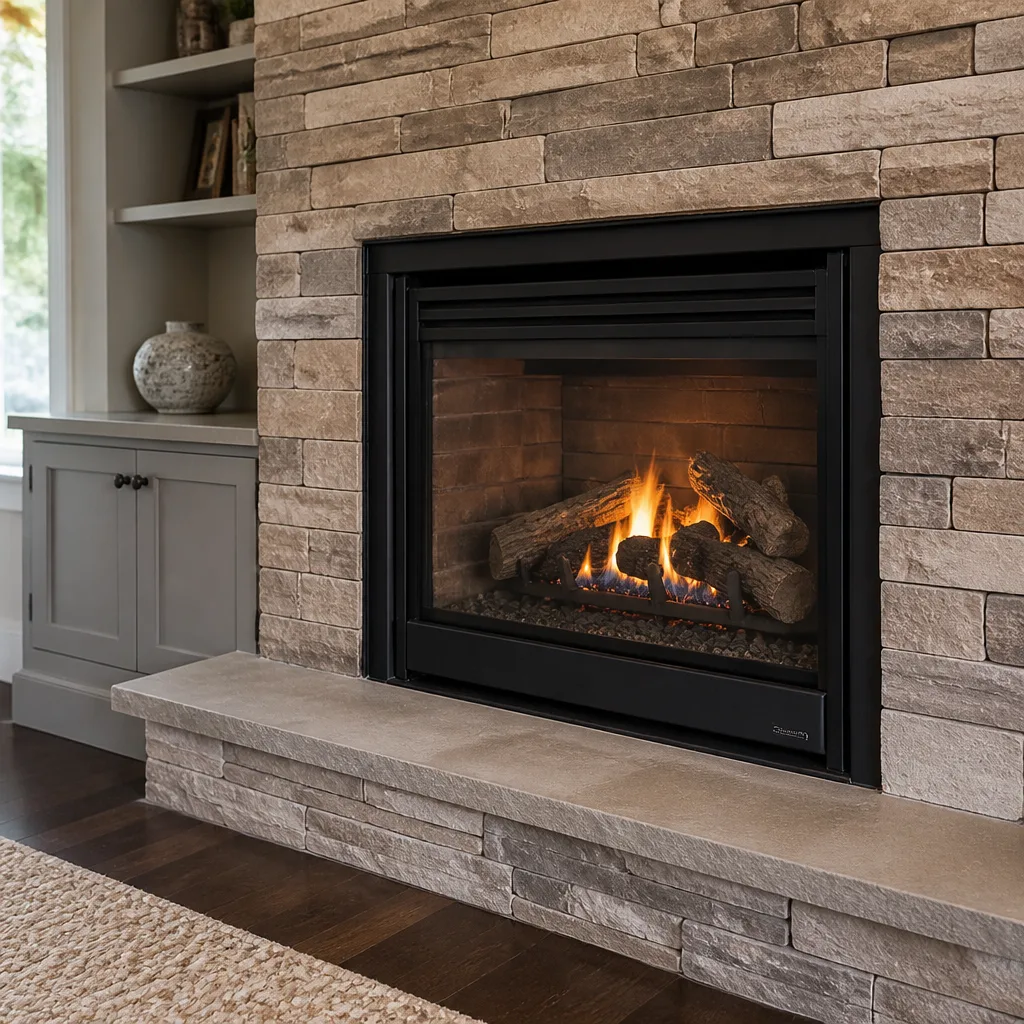 Gas fireplace service
Level 1 sweep and inspection to the NFPA 211 annual standard - flue, crown, cap, and flashing checked and photographed
Chimney sweep logs do not sweep chimneys. They loosen some creosote - which then falls where a brush and vacuum still have to collect it.
Chimney Sweep Maintenance Checklist for Palm Bay Homeowners
If you’re waiting until November to think about your chimney, you’ve already missed the two most important maintenance windows in Palm Bay’s calendar. The national chimney advice you’ll find online was written for places with long, hard winters and a burn season that runs from October to March. Palm Bay runs on a different schedule. Our burn season is short and mild, our rainy season dumps most of the year’s moisture between late spring and early fall, and hurricane season overlaps all of it. That flips the whole checklist around. This guide walks you through a maintenance schedule built for Palm Bay specifically – what to check and when, which tasks you can do yourself from the ground, which ones need a trained eye and a camera, and how to keep records that actually hold up.
Quick Answer
A chimney maintenance checklist for Palm Bay is anchored to three local realities: summer’s heavy rain and storm season, a short winter burn window, and year-round humidity that keeps masonry damp longer than in drier climates. The short version: do a visual inspection from the ground in early fall before your first fire, schedule a professional sweep and camera inspection before the burn season starts, and re-check the crown, cap, and flashing after storm season ends. Everything else fits around those three anchors.
Styles & brands we work with
- Sweep & inspection
- Caps & crowns
- Flue relining
- Masonry repair
- Gas fireplace service
Table of Contents
- Why Your Checklist Should Follow the Florida Calendar
- The Palm Bay Month-by-Month Maintenance Schedule
- Ground-Level Checks You Can Do Yourself
- What Requires a Professional Camera Inspection
- Post-Storm-Season: Crown, Cap, and Flashing
- How to Log Maintenance for Insurance and Disclosure
- Checklist Items That Can Void Manufacturer Warranties
- Common Mistakes to Avoid
Why Your Checklist Should Follow the Florida Calendar
Most chimney maintenance checklists you’ll find online are built for a climate that doesn’t exist here. They assume a long heating season, a cold dry winter that pulls moisture out of masonry, and a spring thaw that reveals frost damage. Palm Bay gets none of that. Our winters are short and mild, our humidity stays high most of the year, and the damaging weather comes in the form of prolonged rain and storms rather than snow and ice.
That changes what matters and when. In a cold climate, the biggest threat to a chimney is freeze-thaw – water gets into masonry, freezes, expands, and cracks it from the inside. In Palm Bay, the equivalent threat is sustained moisture exposure. Masonry stays wet longer, and the same water intrusion that would freeze and crack elsewhere just sits there, quietly weakening mortar joints and driving deterioration over a longer stretch. The window to catch it is between storm season and the first fire, which is why fall matters more here than anywhere else.
Burn season is also different. A Palm Bay household might light a fire on a handful of cool evenings and weekends through the winter months, or not at all in a mild year. That’s not a reason to skip maintenance – it’s a reason the maintenance is lighter and more inspection-focused. A chimney that only sees a few fires still collects creosote, still hosts wildlife, and still weathers every storm.
So the checklist below is organized around three real Palm Bay anchors: storm season ending in early fall, the start of the burn season, and the stretch of high humidity in between. Line your maintenance up with those and you’ll be doing the right tasks at the right time.
The Palm Bay Month-by-Month Maintenance Schedule
Here’s how the year breaks down for a Palm Bay chimney. Think of this as a loose framework – the point is the sequence, not strict dates. But if you’re looking for a task-by-task plan, this is the one that fits local conditions.
January through February – peak burn season. This is when most fires happen. Your job now is light: burn dry, seasoned wood, avoid overloading the firebox, and pay attention to how your fireplace performs. Smoke that backs into the room, a smell that lingers after the fire is out, or a draft that feels weak are all signals to note for your next inspection. Keep the damper working smoothly and remove ash regularly.
March through April – the transition. Burn season winds down. Do a ground-level look at the chimney exterior once the weather settles: check the cap, look for loose mortar, watch for staining on the masonry. Book your professional sweep and inspection before the calendar fills – spring is a calm window and you’ll get the clearest picture of the chimney’s condition before summer stress.
May through October – rainy and storm season. This is the endurance test. Heavy, sustained rain and the occasional tropical system put moisture stress on the crown, cap, flashing, and masonry every week. During this stretch, keep an eye out after major storms: water stains on the ceiling near the chimney, damp patches on the chimney breast, or a musty smell in the room all point to a water intrusion problem. This is also when wildlife is most likely to move in.
November through December – pre-season prep. Storm season is over. This is the window for the post-storm inspection of the crown, cap, and flashing, and the professional sweep and camera inspection that clears everything for the burn season. If any repairs surfaced, this is when they get handled – before the first fire, not after.
If that sounds like a lot of moving parts, the honest summary is that you have two professional touchpoints a year at most, and the rest is watching and noting. A chimney sweep handled at the right point in the calendar catches more than one squeezed in at the last minute.
Ground-Level Checks You Can Do Yourself
Not everything on the list needs a trained technician with a camera. Some checks are safe and useful to do yourself from the ground, and they help you describe a problem clearly when you call. Here’s what you can responsibly do, and how.
- Look at the cap from a distance. Use binoculars from your yard rather than climbing. You’re checking that the cap is still there, sitting level, and not visibly rusted through or bent. A missing or damaged cap is the single most common way water and wildlife get in.
- Scan the crown. The crown is the concrete or mortar top around the flue. From the ground, look for obvious cracks, crumbling edges, or a visible tilt. Hairline surface lines are common; a crack you can see clearly from the ground is worth flagging.
- Check the flashing at the roofline. The flashing is the metal where the chimney meets the roof. Look for loose edges, gaps, or rust from a safe viewing spot on the ground. You don’t need to get on the roof – if you can see it’s off, that’s enough to call it in.
- Inspect the masonry from below. Look for staining, efflorescence (the white powdery look that hints at moisture moving through mortar), or visible spalling where brick faces are flaking away.
- Check the firebox and damper with a flashlight. With no fire burning, look up into the firebox and at the damper. You’re checking that it opens and closes fully and isn’t blocked. Don’t put your head inside the firebox or reach up into the flue.
- Note interior signs. Water stains on the ceiling near the chimney, a musty smell, or soot streaks on the fireplace face are all things to write down and mention when you book an inspection.
What you should not do from the ground or anywhere else is get on the roof, climb a ladder to inspect the flue, or reach into the firebox or flue to clean or examine it. The risk of a fall or a hidden hazard isn’t worth it, and what you’d learn isn’t as useful as what a camera sees. Leave the roof and the flue interior to a trained professional.
What Requires a Professional Camera Inspection
Everything the ground can’t show you – and that’s most of the chimney – needs a professional look. A camera inspection sends a scope down the flue and gives a view of what’s happening inside: the condition of the flue tiles or liner, the amount and location of creosote, cracks, gaps, and any obstruction. This is the difference between guessing and knowing, and it’s the core of a real chimney inspection.
In Palm Bay, a camera inspection matters for a few local reasons. The humidity means masonry holds moisture, and the inside of a flue can be deteriorating in ways the exterior never shows. Storm season can push debris or water into a flue that isn’t properly capped. And if a home has a prefab or insert system, the camera shows whether the liner is intact and whether the system is still doing its job.
Here’s what a professional inspection covers that a ground check can’t:
- The interior of the flue – liner condition, cracks, gaps, and the level of creosote buildup
- The flue tiles or flexible liner, and whether they’re still sound (this can matter a lot for prefab and insert systems)
- Obstructions – nests, debris, or a partially blocked flue
- The firebox and damper condition, and the smoke chamber
- The crown, cap, and flashing from the roof level, where a proper look is possible
If the inspection turns up something that needs fixing, the best setup is having it handled by the same team that found it – no second appointment, no re-explaining. That’s how we like to work: sweep, inspect, and repair as a single visit, with the findings documented so you can see exactly what was found. Nothing gets recommended without camera evidence you can look at for yourself, and yes, some findings can safely wait. A camera inspection tells you which is which.
Post-Storm-Season: Crown, Cap, and Flashing
The crown, cap, and flashing are the chimney’s defenses against water, and in Palm Bay they take more of a beating than almost anywhere the generic checklists are written for. Once storm season ends, these three components deserve a dedicated look before the first fire – because a chimney that’s letting water in during the burn season is a chimney that’s quietly getting worse all winter.
Here’s what each one does and what to watch for:
- The crown. The crown is the sloped top that sheds water away from the flue. Cracks in the crown let water in around the top of the flue, which is one of the most common sources of chimney leaks. A crown that’s cracked or pulled away from the flue needs repair, not a band-aid. Repairs to the firebox and flue often call for a specialist-grade resurfacing system like HeatShield, which is built for this kind of ceramic restoration work.
- The cap. The cap keeps rain, debris, and wildlife out of the flue. After storm season, check that it’s still mounted squarely and not rusted through. A loose or missing cap is an open door. Caps and dampers are among the components we source from brands like Gelco and Olympia Chimney, so a repair addresses the whole chimney system rather than just the flue.
- The flashing. The metal at the roof-to-chimney joint is where water intrusion most often starts. Storm winds can lift or loosen flashing, and a gap that’s invisible from the ground can send water straight down into the attic or ceiling. This one almost always needs a roofer-level look, so it belongs on the professional checklist, not the DIY one.
The order matters: handle crown, cap, and flashing first, then do the sweep and camera inspection. If water is still getting in, the inspection may just document a problem that’s going to recur. Seal it up, then look inside.
How to Log Maintenance for Insurance and Disclosure
A chimney maintenance log isn’t just for peace of mind – it’s a document that can matter when you file an insurance claim or sell your house. When a problem surfaces, the first question an insurer or a buyer’s inspector will ask is simple: was this maintained, and can you show it? A dated record is the answer.
Here’s what to keep, and it doesn’t take much:
- Dates of every sweep and inspection. A simple list with dates and what was done.
- Your inspection reports. The written findings and any photos or camera-report documentation. Keep the findings, not just the receipt.
- Repair records and materials. If a component was replaced or resurfaced, note what was used and when. Knowing a repair used a professional-grade product like a DuraFlex liner system or a HeatShield resurfacing is the kind of detail that answers questions later.
- Photos after storm season. A dated photo of the crown, cap, and flashing once a year gives you a baseline to compare against.
- Notes on any recommended-but-deferred work. If an inspector flagged something that could safely wait, write down when it was flagged and why it was deferred.
For a real estate disclosure, this log shows a buyer that the chimney was maintained and that any issues were documented and addressed. For an insurance claim, it shows the same thing to an adjuster. Either way, the value is in the dates and the documentation, not in a file full of receipts. When you book a chimney repair, ask for the findings in writing so it goes straight into the log.
One honest note on insurance: we can work with your insurer, but no maintenance log changes what a policy actually covers. The log protects you by documenting that you did the upkeep – it doesn’t replace reading your own policy.
Checklist Items That Can Void Manufacturer Warranties
If your home has a prefab fireplace or an insert, the manufacturer’s warranty is more fragile than most homeowners realize. The warranty covers the system as designed and installed, and skipping maintenance can give the manufacturer grounds to deny a claim. The items below are worth treating as non-negotiable if you want your coverage intact.
- Skipping the annual inspection and cleaning. Most prefab and insert systems expect documented maintenance. A skipped inspection isn’t just a fire risk – it’s something a warranty claim can turn on.
- Burning the wrong fuel. Burning treated or painted wood, trash, or anything the system wasn’t designed for can void coverage and damage the firebox and flue.
- Unapproved modifications or parts. A cap, damper, or liner replaced with a component the manufacturer didn’t approve – or one that doesn’t meet the system’s spec – can void the warranty. Using professional-grade components from brands like DuraFlex or Olympia Chimney matters here, because the part is matched to the system rather than swapped for whatever’s on hand.
- Overfiring. Running a prefab fireplace hotter than its rating, or overloading it, can damage the firebox and give the manufacturer a reason to decline a claim.
- Ignoring the manufacturer’s inspection schedule. Some systems call for inspection on a specific cadence. Following it – and keeping the record – keeps the warranty intact.
The common thread is documentation and approved parts. A homeowner who can show dated inspections and repairs done with the right components is a homeowner whose warranty claim doesn’t hinge on a missing record. If you’re not sure what your system’s warranty requires, that’s a good question to bring to your next inspection – and it’s the kind of thing we note when we document what we find.
Common Mistakes to Avoid
- Treating the checklist as a winter task. By the time the first cool evening arrives in Palm Bay, the window for the fall sweep and post-storm inspection has largely closed. The right time is before the burn season, not during it.
- Getting on the roof to “take a quick look.” The most common way a maintenance check becomes a serious injury is a homeowner on a ladder after a storm. Use binoculars from the ground and leave the roof to a professional.
- Burning unseasoned wood to stretch the woodpile. Green or damp wood produces more creosote and more smoke. In Palm Bay’s humidity, wood needs to be stored dry and covered – not sitting open to the rainy season.
- Assuming a mild winter means no maintenance. A short burn season still leaves creosote, moisture, and storm damage to deal with. A few fires a winter doesn’t make the chimney maintenance-free.
- Letting a problem go until next season. Small crown cracks and loose flashing get worse through the rainy months. The cheapest time to fix a chimney is before the damage spreads.
- Skipping the records. Homeowners who can’t produce a maintenance log lose the benefit of the work they did. Keep the dates and the reports.
- Hiring separate companies for sweep, inspection, and repair. When one team handles all three, the findings don’t get lost between appointments, and nobody re-explains the problem to a second crew.
See the difference
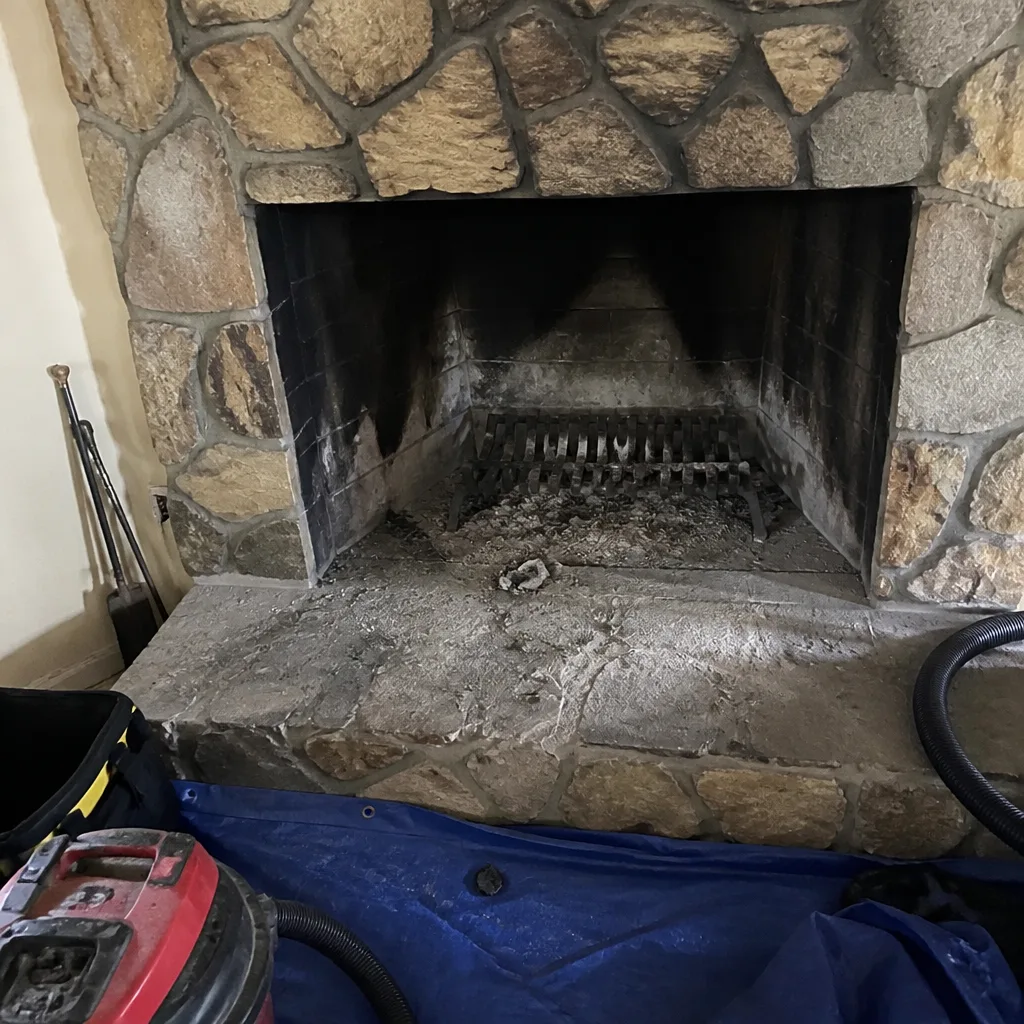 Before
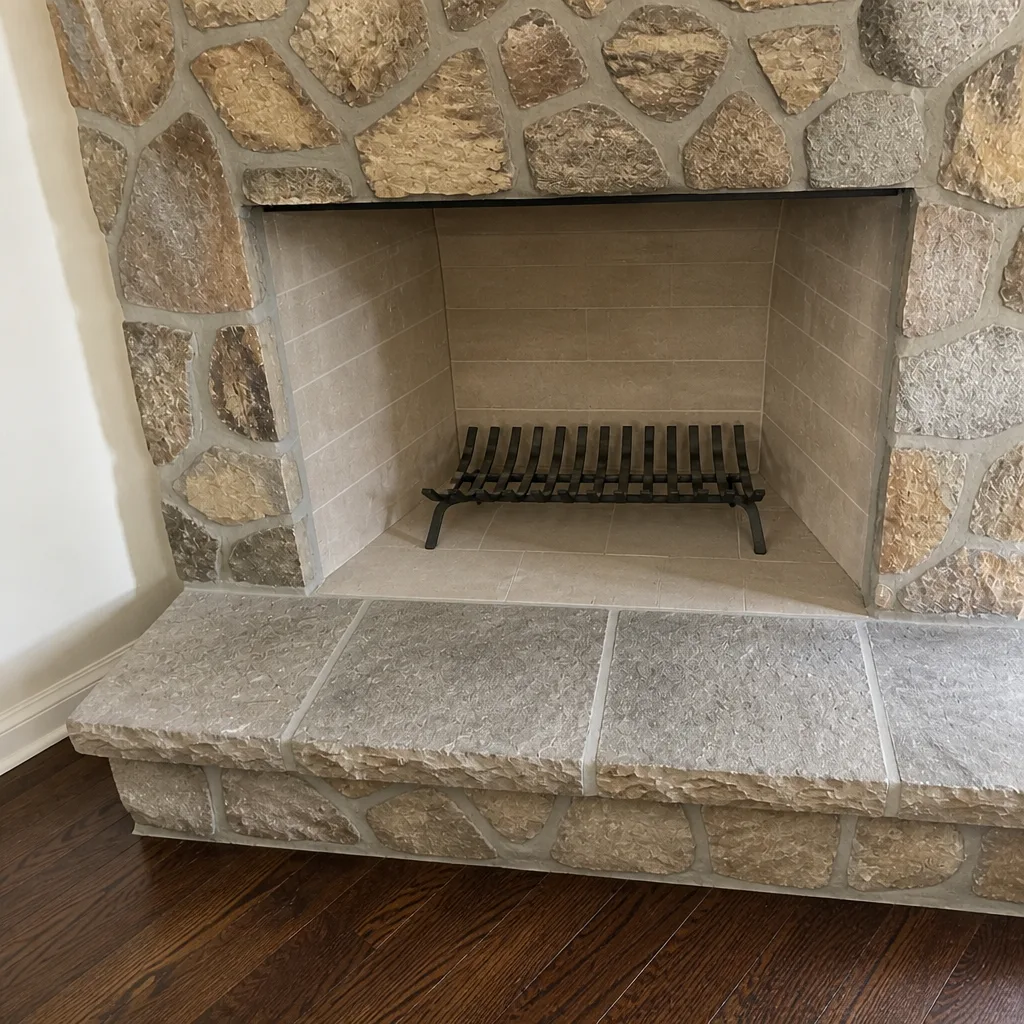 After
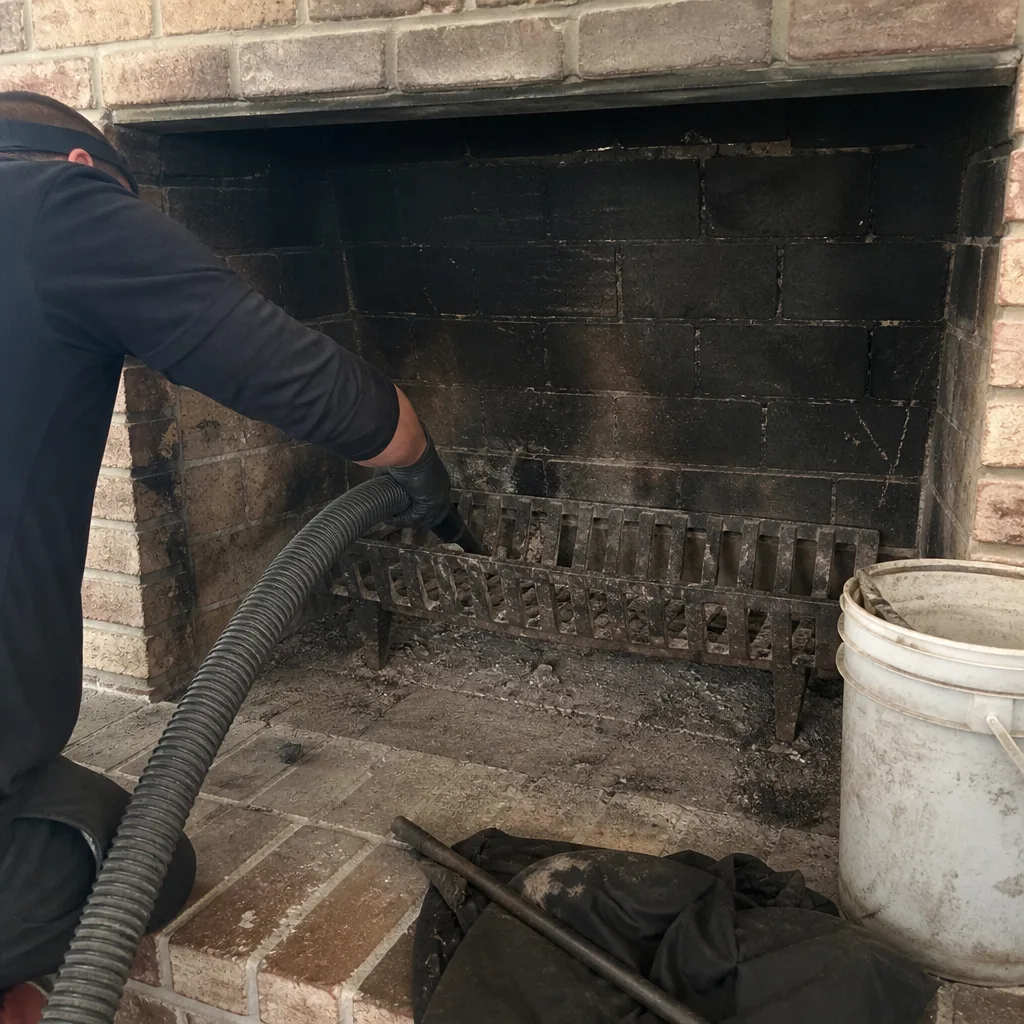 Before
 After
 Before
 After
When to Call a Professional
Some items on this checklist are watch-and-note. Others need a trained professional, and knowing which is which saves you worry and time. Call a professional when you see water stains on the ceiling or chimney breast, a musty smell in the room, soot streaks on the fireplace face, a cap that’s loose or missing, a crown with a crack you can see from the ground, or flashing that’s clearly lifted. Call if you’ve never had the chimney inspected and don’t know its history, if you’ve just bought the home, or if smoke backs into the room when you light a fire. And call before your first fire of the season if it’s been more than a year since the last inspection. Our technicians have up to 13 years of experience with these systems, and we document what we find. Chimney Sweep Palm Bay offers free estimates in Palm Bay – call (855) 632-3563. We answer 24/7. Fast dispatch from 7am to 7pm, Sunday through Friday.
Frequently Asked Questions
Once a year is the standard benchmark, and it usually makes sense to schedule it before the burn season rather than after. A home that burns a handful of fires a winter may sometimes go longer between sweeps, but the annual inspection should still happen – it’s the inspection, not the cleaning, that catches most problems. Call (855) 632-3563 for a free estimate – estimates are free.
Early fall is the best time for the sweep and camera inspection, right after storm season ends and before the first fire. Spring is the calmest window for booking if you want the clearest picture of the chimney’s condition. The one window to avoid is trying to squeeze it in during the first cold week of the season. Call (855) 632-3563 for an exact quote – estimates are free.
You can do the ground-level checks – looking at the cap with binoculars, scanning the crown, checking the flashing from a safe viewing spot, noting water stains indoors. What you shouldn’t do is get on the roof or reach into the flue. The interior needs a camera inspection, and that’s a professional job. Call (855) 632-3563 for an exact quote – estimates are free.
Check the crown for visible cracks, the cap for looseness or rust, and the flashing for lifted or missing edges – then get a professional to verify from the roof. Storm season in Palm Bay is long, and the crown, cap, and flashing are the three components most likely to take water damage. Call (855) 632-3563 for a free estimate – estimates are free.
No. A short burn season still leaves creosote in the flue, and the humid climate keeps masonry damp longer than in drier places. The checklist shifts to be more inspection-heavy than cleaning-heavy, but the core maintenance still matters. Call (855) 632-3563 for an exact quote – estimates are free.
Yes, it can. Most prefab and insert systems expect documented maintenance, approved parts, and the right fuel. Skipping the inspection, burning the wrong material, or installing an unapproved cap or damper can give a manufacturer grounds to deny a claim. Call (855) 632-3563 – estimates are free.
The Bottom Line
The right chimney checklist for Palm Bay isn’t the national one – it’s built around our storm season, our short burn window, and our year-round humidity. Do your ground-level checks in early spring and after storms. Schedule the sweep and camera inspection in early fall, before the first fire. Re-check the crown, cap, and flashing once storm season ends. Keep a dated record of everything, and follow your system’s warranty requirements if you have a prefab or insert. Do that, and you’ll know where your chimney stands every season instead of guessing. For help with the professional items, reach out to Chimney Sweep Palm Bay – sweep, inspect, and repair all in one visit. Call (855) 632-3563. We answer 24/7. Fast dispatch from 7am to 7pm, Sunday through Friday.
If you’re near Palm Bay and want the checklist handled for you, give us a call. Our team works with professional-grade materials from DuraFlex, HeatShield, Gelco, and Olympia Chimney, so every repair uses the same brands pros rely on.
Written by the team at Chimney Sweep Palm Bay.